How to remove the vignetting on a photo with Darktable

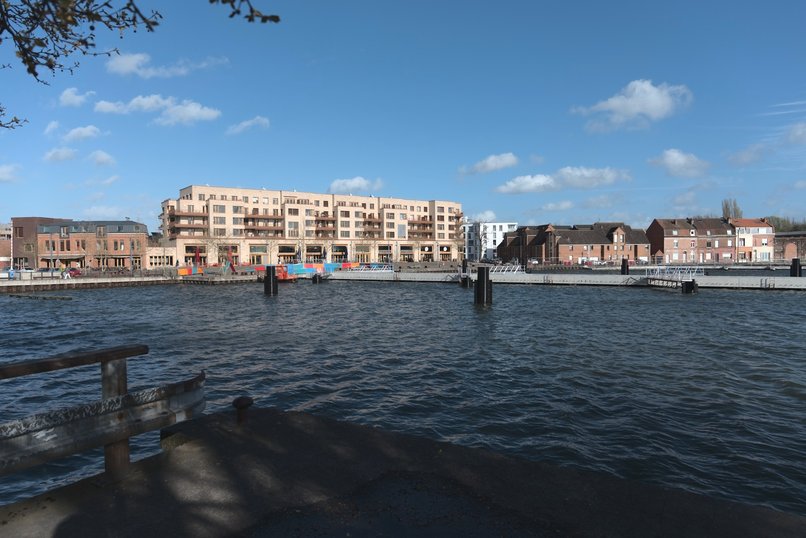
The vignetting in photography is a reduction of the image’s brightness or saturation toward its periphery. It is usually an unintended or undesired effect caused by the lens, camera settings, or exposure. If you look at this article title photo, you’ll see the corners are darker than the middle of the picture : it’s the vignetting.
In fact, I usually like this effect and I don’t often remove it because it’s a nice way to draw interest to your subject, for example with portraits or pointing specific part of a landscape. Also, it’s a nice way to had a natural vintage effect on your picture. However, sometimes you’ll want to remove it (or add it artificially for artistic means). This step can be done with a digital photography software like Darktable (or Adobe Lightroom, but I use Darktable so I’ll explain for Darktable).
The vignetting is caused by various reasons, for example :
- The lens limitation / camera settings
- An accessory (sun screen, filters)
- Natural blocking of light rays
- Using a lens smaller than the sensor (example for Nikon : DX Lens on a FX camera)
One way to mitigate the risk of vignetting is to reduce the diaphragm aperture.
Remove the vignetting
In Darktable, open the darkroom and select the “Lens Correction” filter.
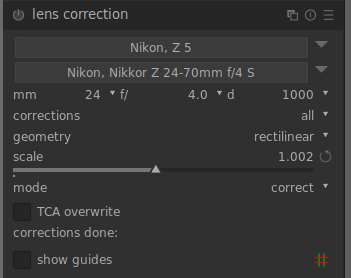
If you enable the filter with the default settings, it should immediately do its magic. Warning : to be effective, your camera and lens specifications must be known by Darktable or it won’t work.
As you may see, the perspective is also corrected as the corners seems to be stretched when the filter is disabled. This is a distortion inducted by the lens shape.
In the filter settings, you can choose which correction to apply. The default mode will apply all corrections, but you can choose to remove only the vignetting, or fix the lens distortion.
For this example, I’ve preferred to apply all corrections. Removing only the vignetting and not the distortion resulted on a weird scenery because the vignetting can hide the distortion in an elegant way.
By the way, the two versions of the same picture present why I like the vignetting : First, the building and the water are nicely focused, and the distortion gives more deepness to the landscape. After correcting the vignetting and the lens distortion, the image results to appear flat, but of course more realistic.
Add vignetting to a picture
Sometimes you want to remove it, sometimes you want to add it for artistic or personal taste purpose ! Darktable has a filter to add vignetting to your picture.
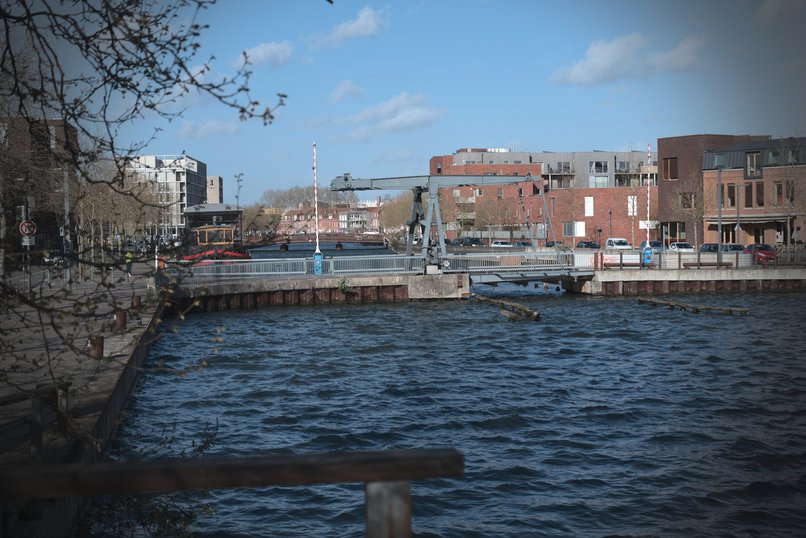
Let’s see it with the following one. As you can see, there is no vignetting on it.
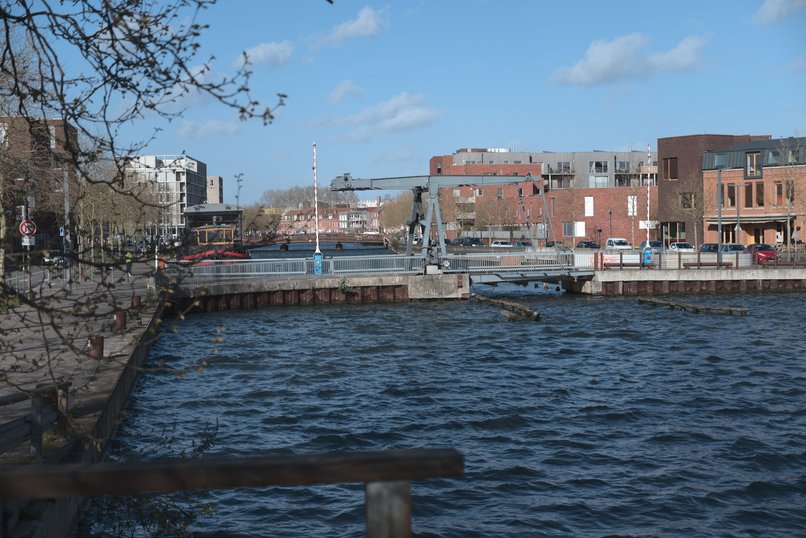
Now, use the “Vignetting” filter in Darktable.
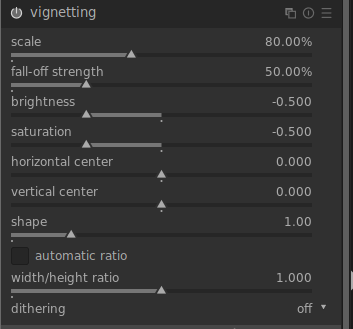
The result is very realistic !
The filter has a lot of nice options like reducing the saturation, or increase it and do a surreal scenery.