Manage Jenkins Access and Roles with OpenID
Introduce Jenkins doesn’t seem to be necessary for me as this software is one of the usual in the continuous integration domain. When you are an organization with several teams and a shared Jenkins instance, you may need to separate them into dedicated workspaces to avoid configuration or job modifications by other teams.
That’s what Jenkins role based access control is made for, but that’s not really simple to apprehend. Here is a tutorial to show you how to interface Jenkins with an OpenID Identity Provider that will manage users dans roles access.
The need
Let’s assume we are a company with several dev teams using a shared Jenkins instance. This Jenkins is administered by a dedicated team that provides the CI:CD tools for the projects and ops teams.
The projects teams include the devs and integration team that’ll need to create continuous build, integration and deployment jobs for their applications. The projects team have a dedicated space in Jenkins.
The Ops teams are the infrastructure and applications maintainer that can execute deployment jobs, but don’t require to be able to create or modify a deploy job. As they are a shared team, they should have access to all deployment jobs.
Finally, the CICD team that maintains Jenkins will need an Admin access to it.
So, we can imagine the folowwing RBAC matrix :
| Team | Grants |
|---|---|
| Jenkins Admins | Admin |
| Project A | Read, write, and execute access on Project A folder |
| Project B | Read, write, and execute access on Project A folder |
| Ops | Execution access on deployment jobs |
We will see how to setup Jenkins in order to delegate the authentication to an Identity Provider (IDP) and assign roles related to the user.
To facilitate the implementation, Jenkins is organized with folders for each team.
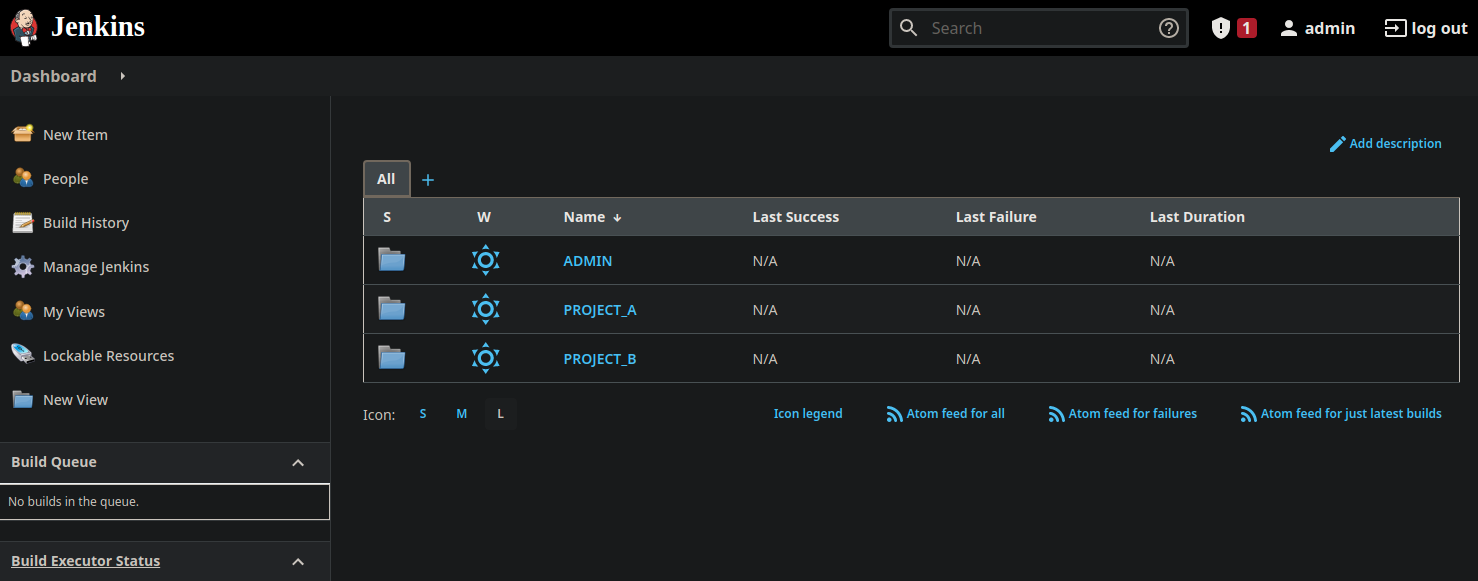
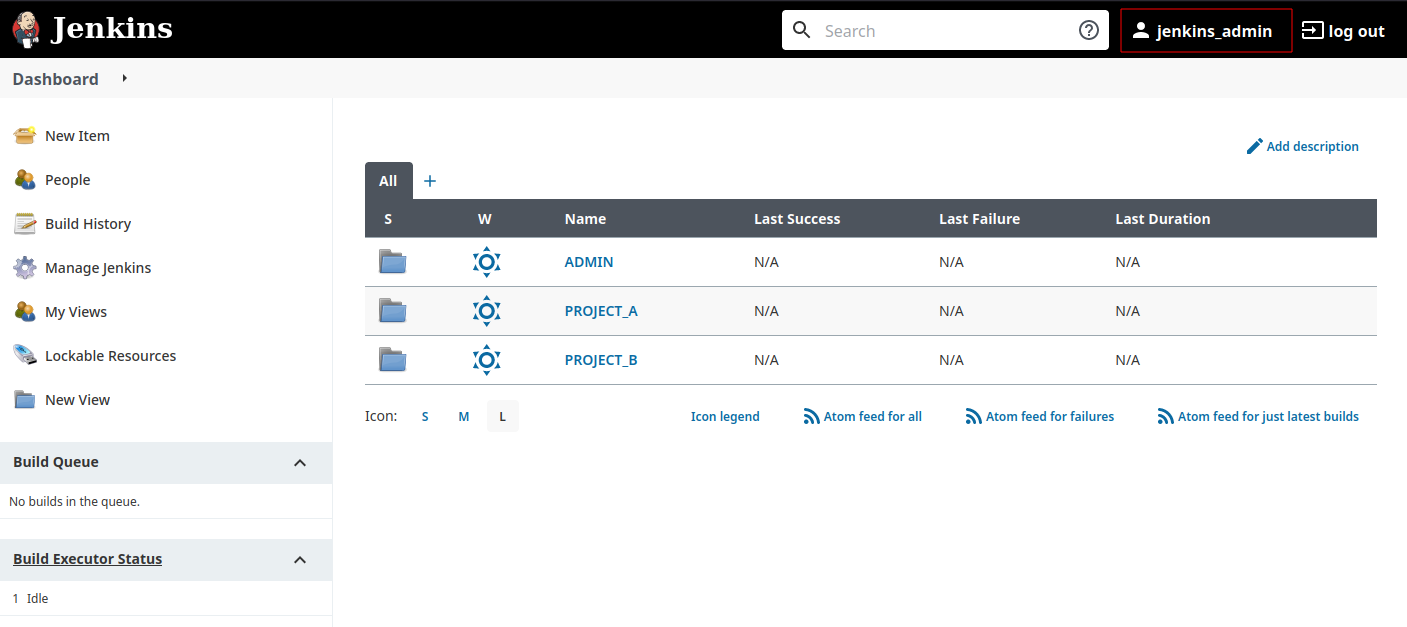
We have three main folders in Jenkins. One for the Admins with their maintenance and specific jobs, one for each project team.
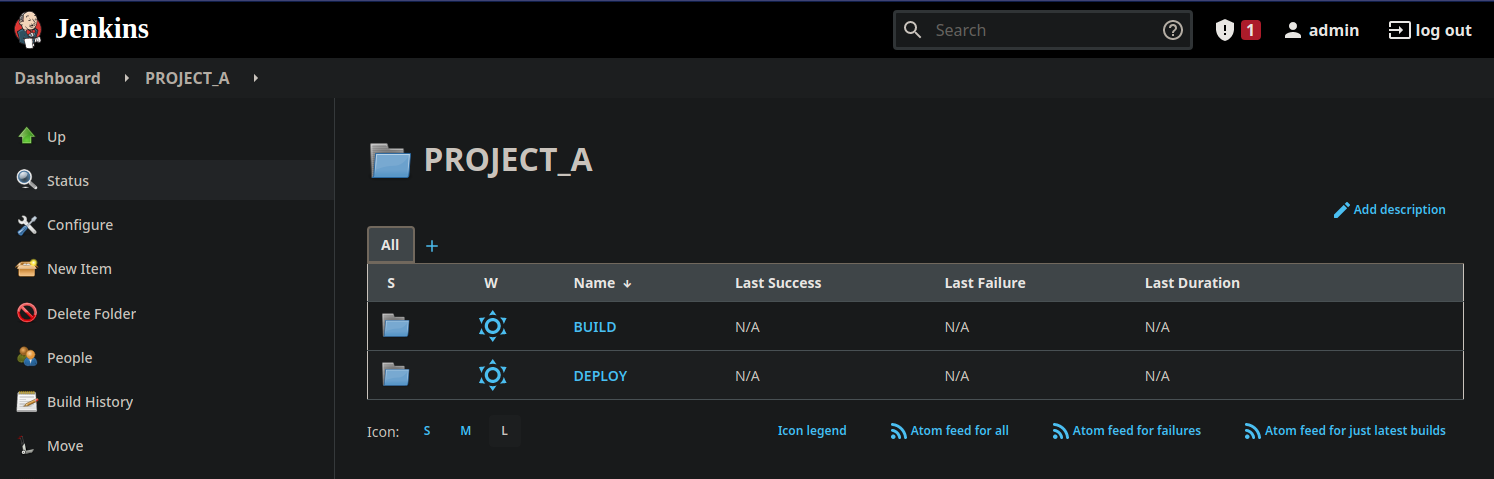
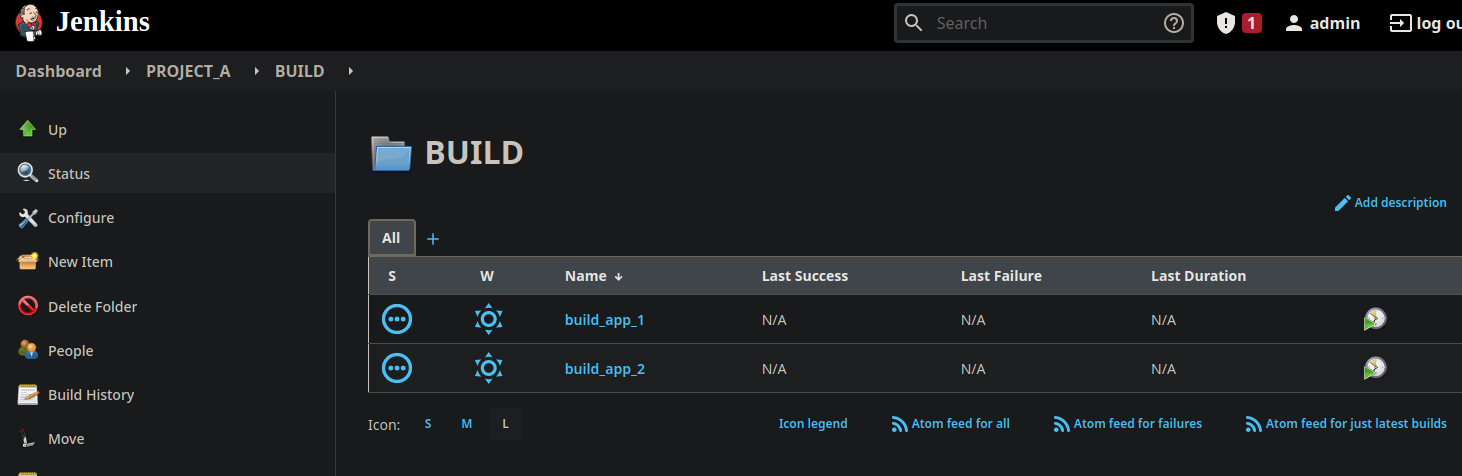
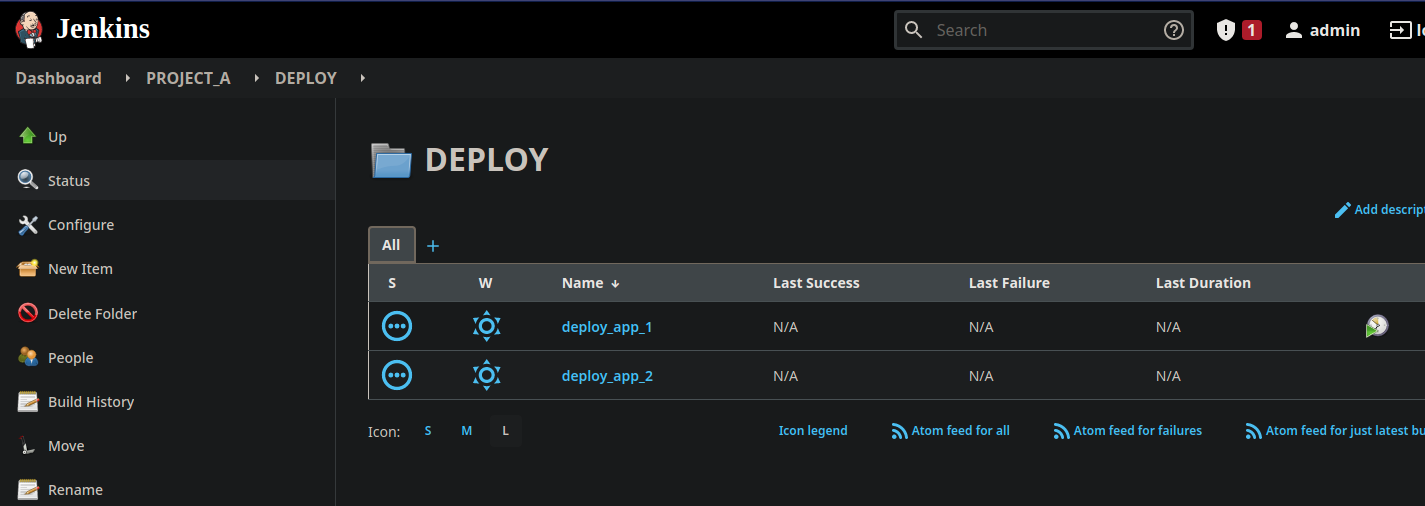
For each project, we have a “BUILD” folder that contains the application build jobs, and a “DEPLOY” folder that contains the deployment jobs. The Ops team may have access to each deployment job.
Setup and Identity Provider with Keycloak
Keycloak is a used to create an Identity Provider and enable Single Sign-On features using OpenID or SAML2 protocols. This article won’t explain how Keycloak works because it’s not the purpose and I’m not an expert on this specific subject. I’ll use it to illustrate how the access matrix is designed inside the identity provider.
For the demo requirement, we will create a new Realm in Keycloak that’ll contains our users and roles.

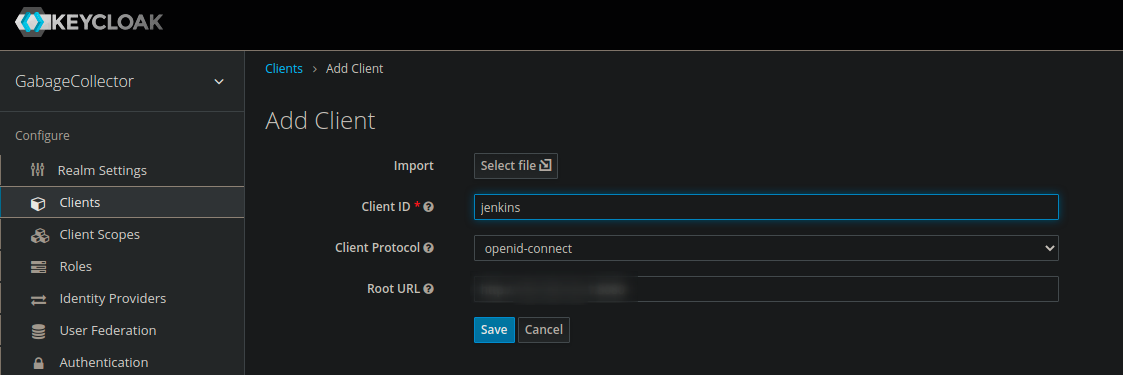
We add a new Client for Jenkins. In root url, you may paste the Jenkins Web GUI URL.
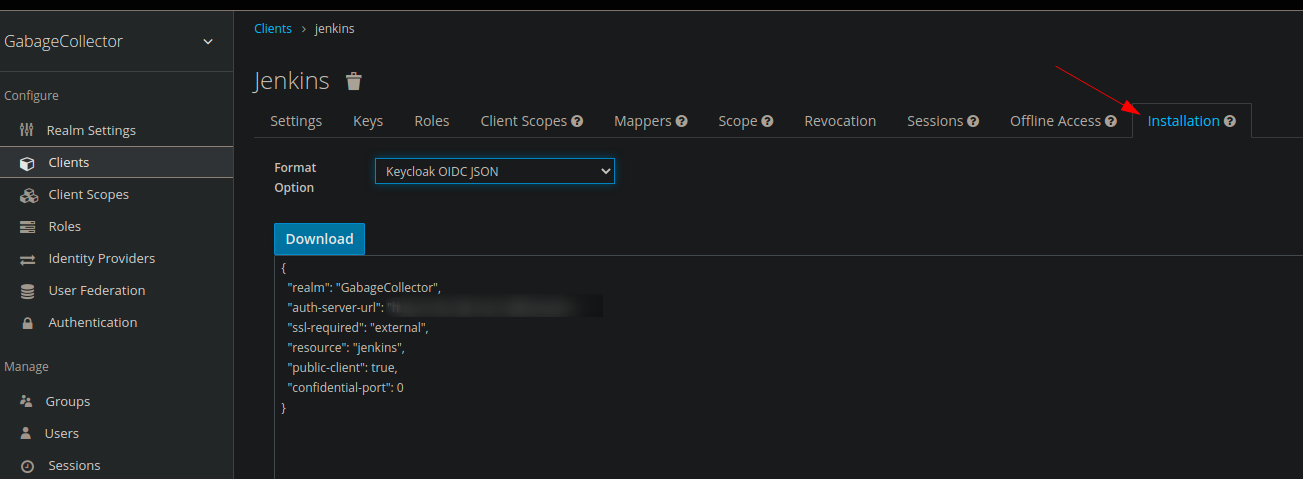
In the “Installation” tab, we put on side the settings in Keycloak OICD JSON format in order to give it to Jenkins later.
Then, we create the roles inside the GarbageCollector realm.
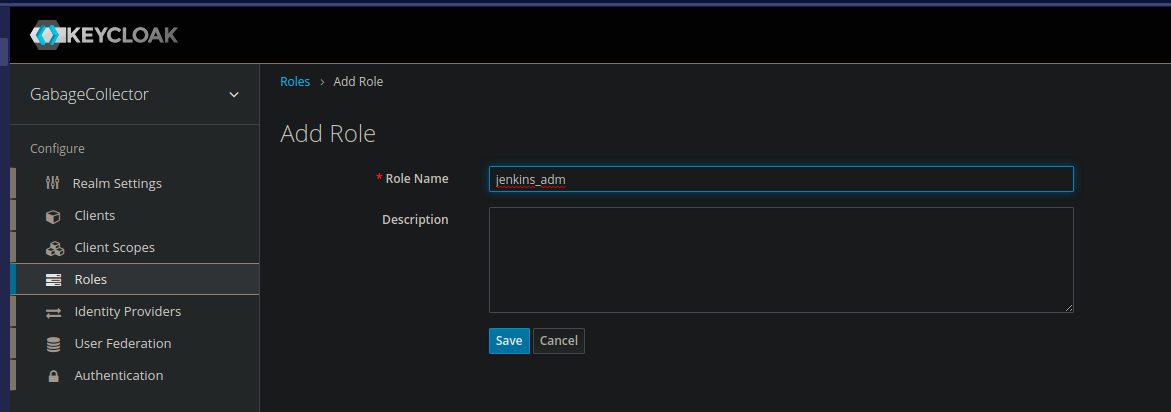
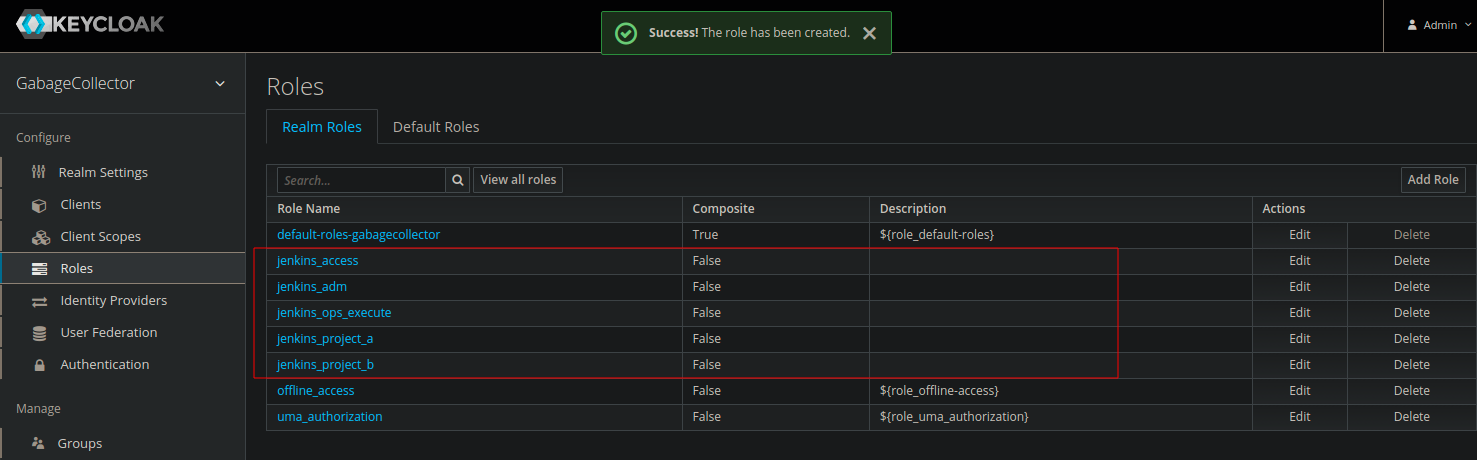
- jenkins_adm : for Jenkins admins
- jenkins_access : will grant the “real” right in Jenkins, we’ll see this above
- jenkins_ops_execute : for the Ops team
- jenkins_project_a : for Project A team
- jenkins_project_b : for Project B team
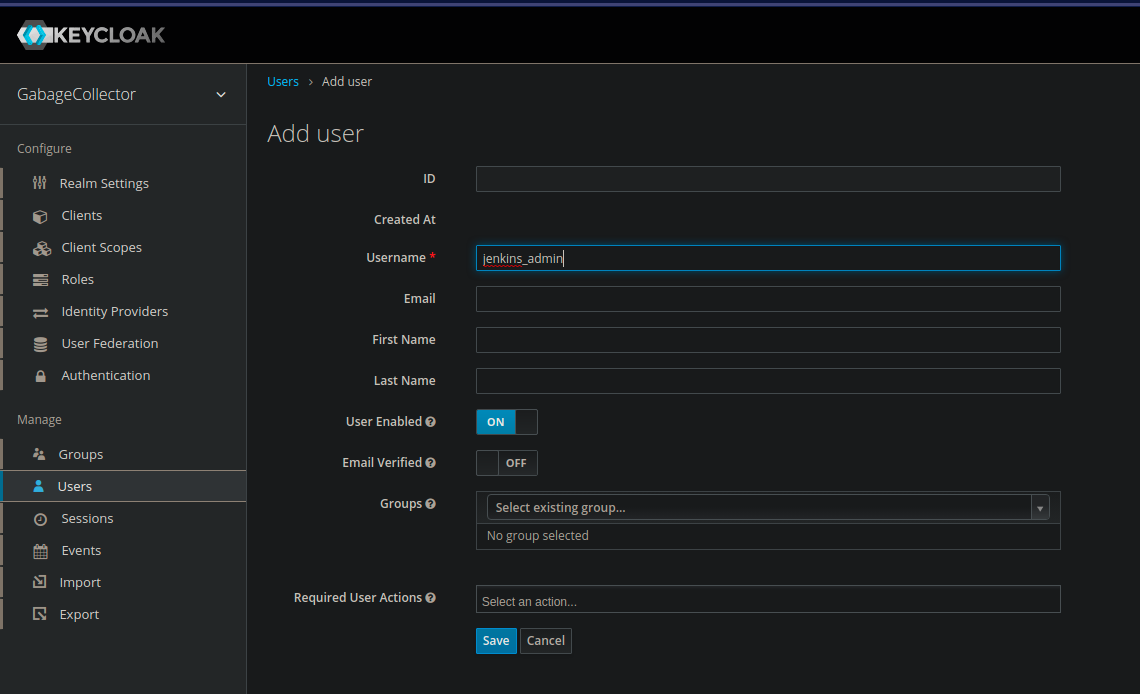
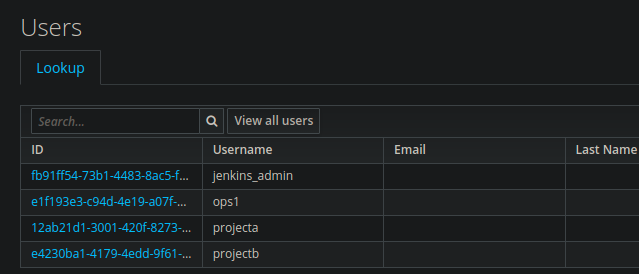
Then, we create the users.
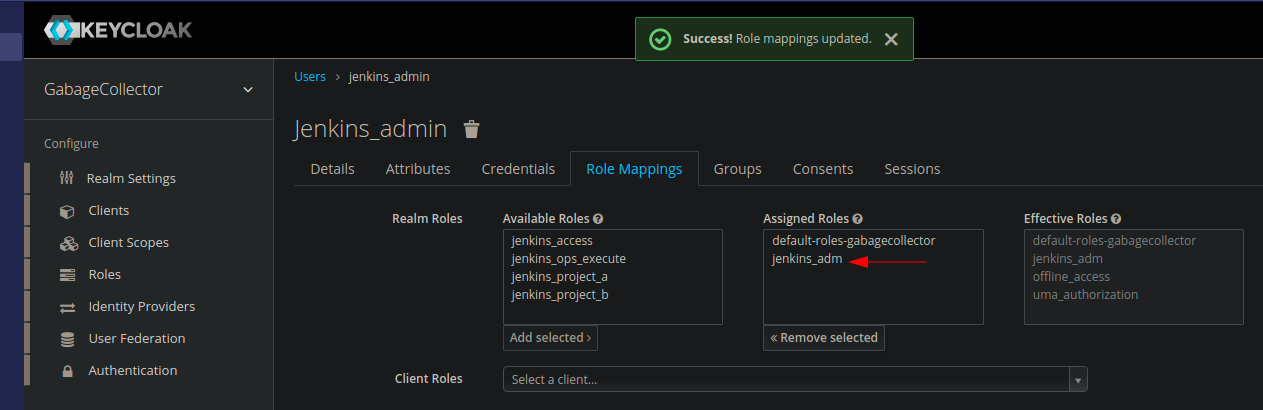
In the role tab, we assign the roles in the following way :
| User | Role |
|---|---|
| jenkins_admin | jenkins_adm |
| ops1 | jenkins_access, jenkins_ops_execute |
| projecta | jenkins_access, jenkins_project_a |
| projectb | jenkins_access, jenkins_project_b |
Why role jenkins_access ? Because Jenkins requires an “Overall/Read” role in order to give access to the GUI objects. The “admin” role is allowed to do it by design, but the other roles neer and Overall Read access to see the resources.
Create the RBAC matrix in Jenkins
First, we install some required plugins.
The first one is required to enable the Role Based Access Control matrix. The second one is to enable a simple keycloak connection with Jenkins. If you use another IDP, you may install the OpenId Connect Authentication plugin.
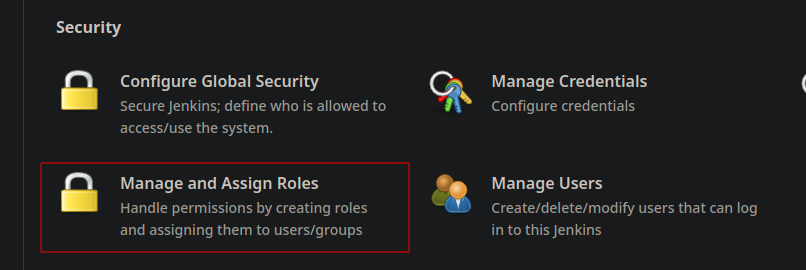
In Manage => Configure Global Security => Authorization, activate “Role-based strategy”, save it.

A new item appears in the manage screen : Manage and Assign Roles, open it.
Create the matrix
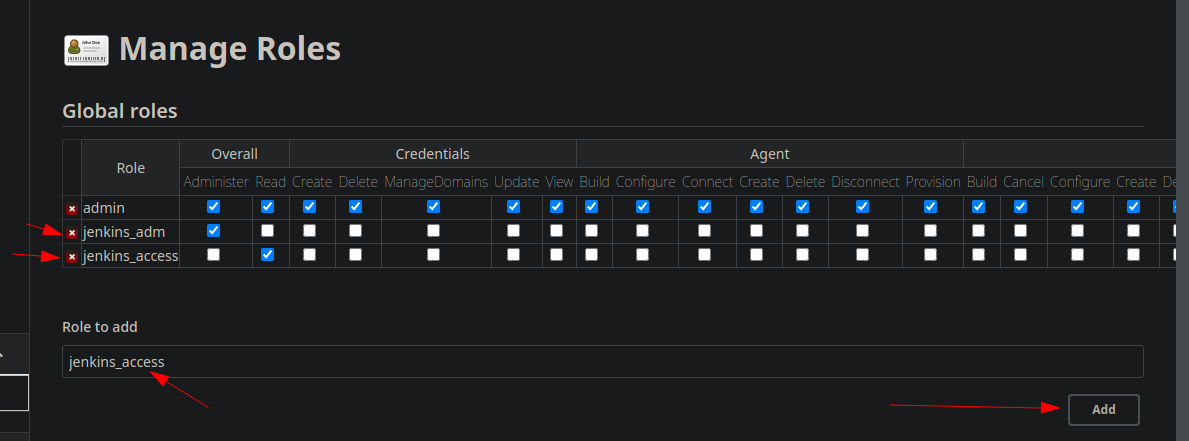
First, we’re going into the Manage Role section to create the access roles. As you can see, the global role “admin” already exists. We won’t use it because we’ll create our own.
Add “jenkins_adm” with “Overall/Administer” role, and “jenkins_access” with “Overall/Read” role.
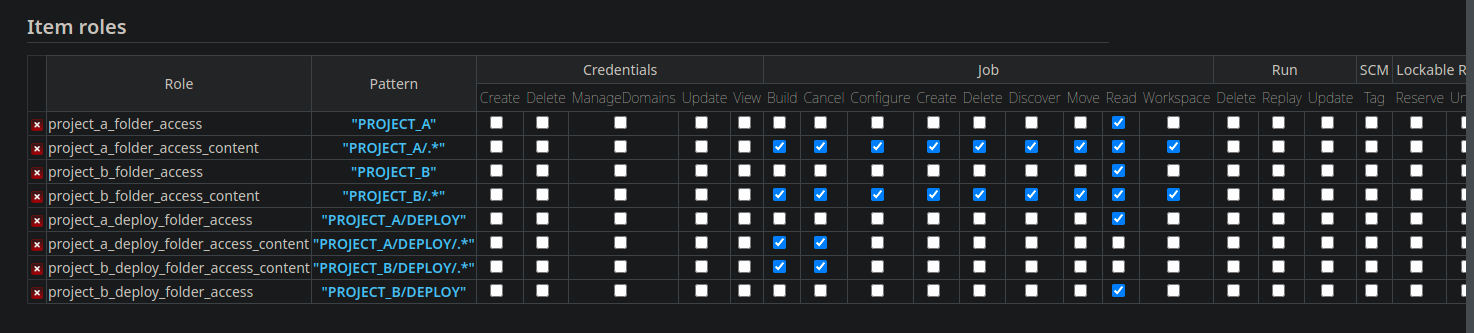
This is for the global access, now let’s create for item roles. If Global Roles grant rights for all the Jenkins instance, the Item Roles are more precise and allow to create a very detail matrix for folders or projects.
When we use folders, it becomes necessary to create a folder access right and a folder content management right to manage the resources inside it. This is required to create the expected access separation between Devs and Ops.
We had an item role to access Project A folder, then an Item Role to read, modify, execute its content, then only a read access for Ops. This means three items :

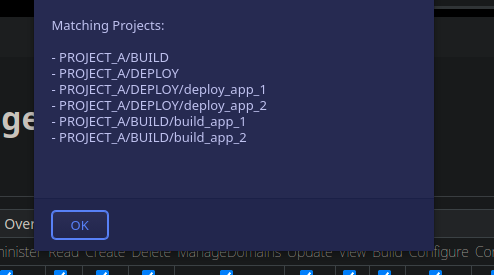
Useful tip, if you click on the Pattern, Jenkins returns the impacted items.
Good to know : You must always give a “Read” access to an object. If not, the item could not be visible to the user. In my screenshots I’ve forgot it, so the group couldn’t see anything !
We save and get the following result :
Again, the Admin role doesn’t require any specific rights, the Admin grant allows everything.
Assign the matrix
Now, go to the Assign Role screen. First, we assign the global roles “jenkins_adm” and “jenkins_access”.
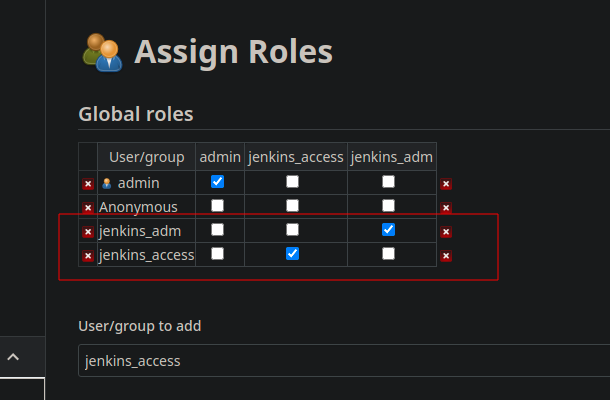
The group name is important and must match the one present in the IDP !
Below, in the Item Roles, we assign the required rights for the “jenkins_ops_execute”, “jenkins_project_a”, “jenkins_project_b” roles.

Don’t forget to save ! We have the basics, now we can enable the OpenID authentication with Keycloak.
💡 Please note that if you go back on the Assign screen you may see the items striped. That’s because they don’t exist in Jenkins own database. That’s normal, the IDP will provide them.
Activate the OpenID authentication
Go to Manbage => Global Configuration, then paste in the section “Global Keycloak Settings” the JSON settings we saved earlier. If you lost it, you can find it in Keycloak in Clients => Jenkins => Installation, and selection Keycloak OICD JSON.

Now, go back to Manage, then Global Security and activate Keycloak authentication plugin.

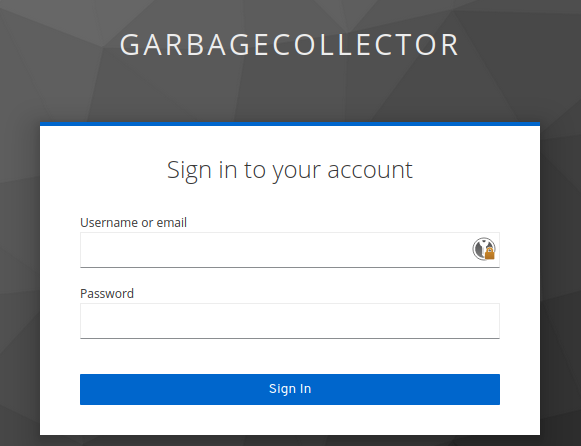
We’re now redirected to Keycloak in order to authenticate in Jenkins.
Tests
I’m connecting with “jenkins_admin” user, the instance Admin : I have the sames rights as the builtin “admin” user.
Yes, my “dark mode” addon is not enabled in private session.
I’m connecting with “project_a” user, I see what I need to have.

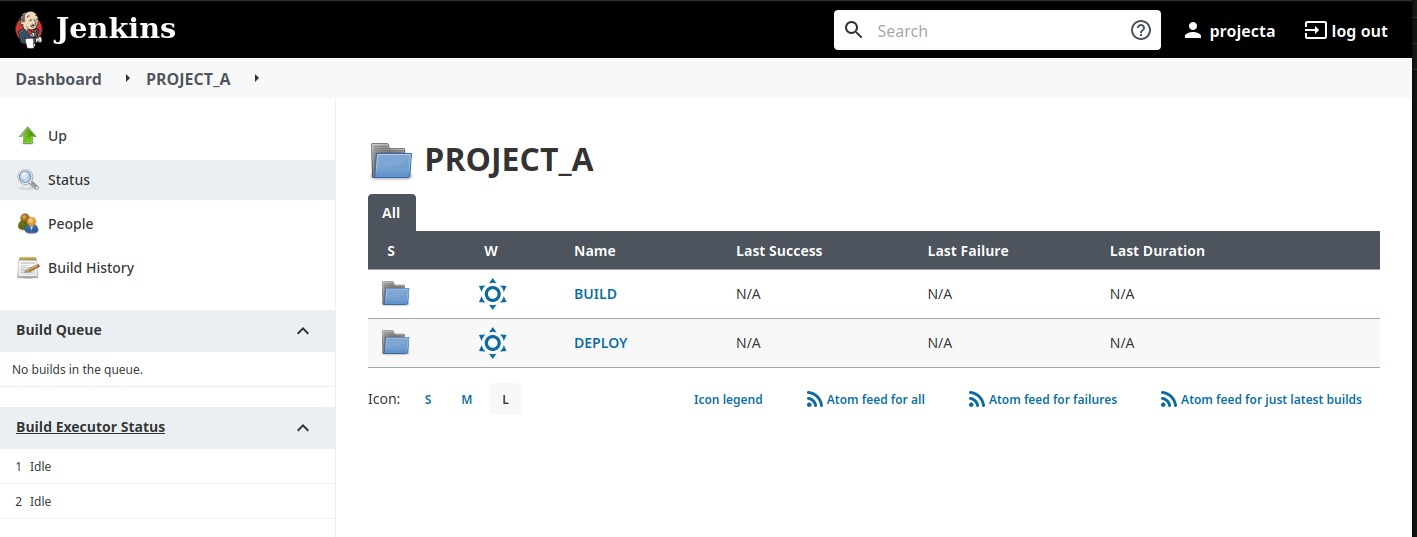
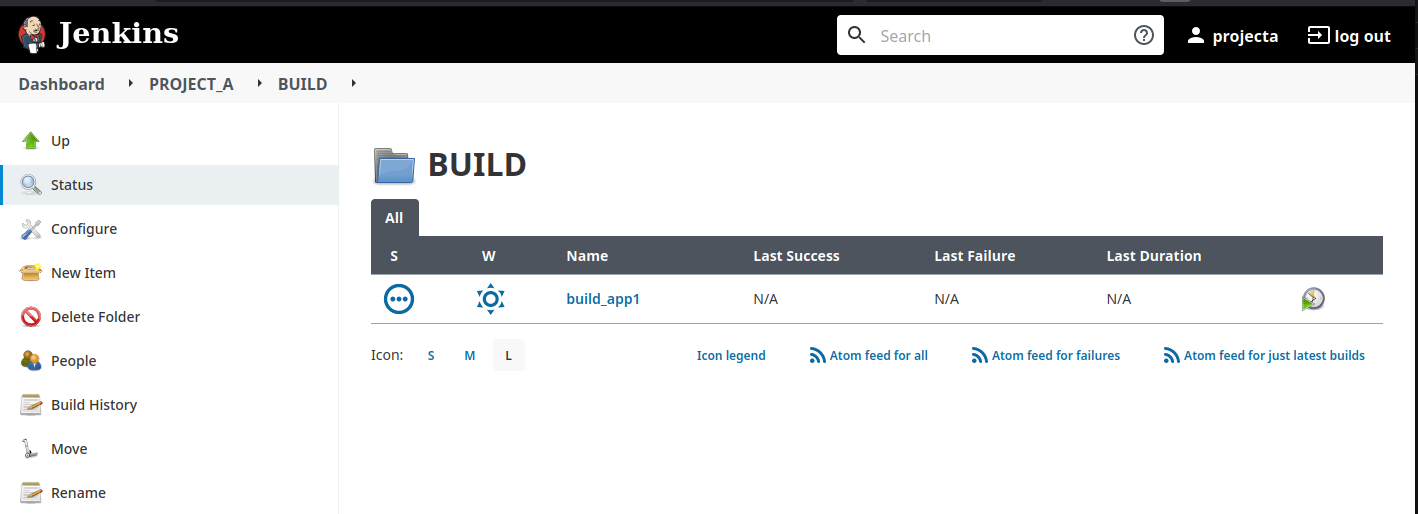
Please note that the rights cannot allow me to create or modify objects inside the “PROJECT_A” folder, only inside “BUILD” and “DEPLOY”. Of course, you can adapt what you want, it’s just an example. 😉
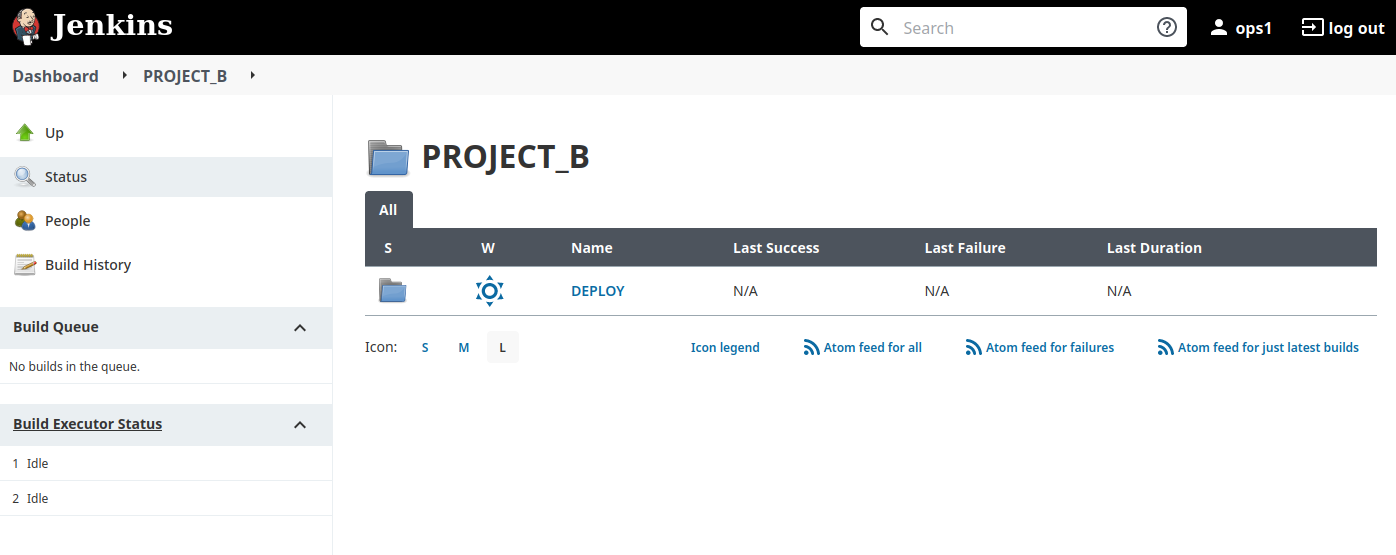
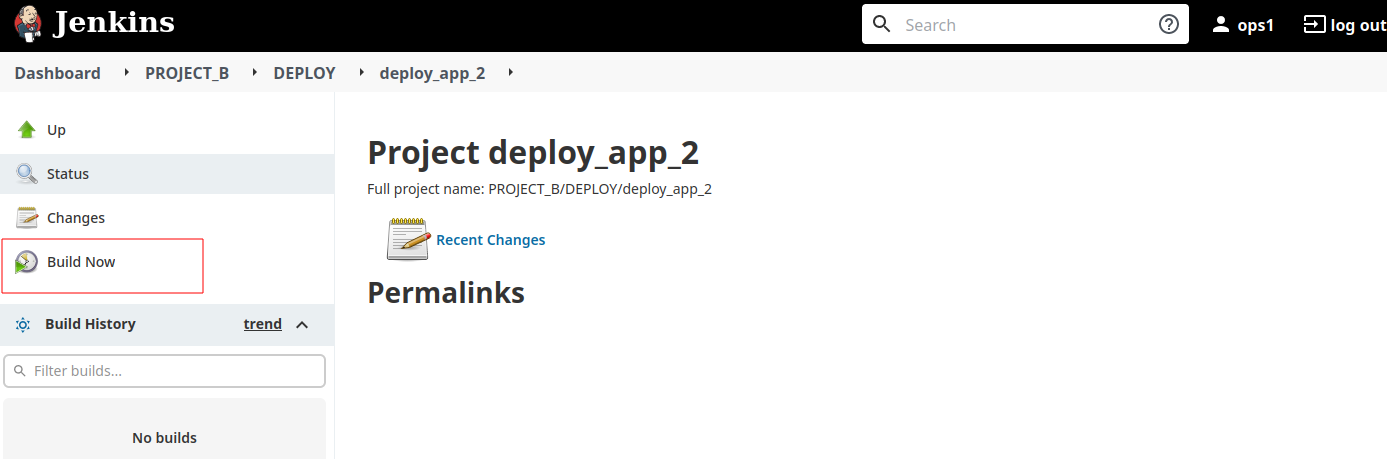
Now I’m checking ops1 profile, I can see both projects but I can’t do anything else that using the deploy jobs.

Conclusion
Voilà ! I hope this article helped you to understand how the RBAC matrix works with Jenkins. Yes, this management can quickly become very heavy and difficult if you goes too far in details, so I would advice to avoid doing too much. You may use the Jenkins Configuration as Code plugin to manage it with YAML files or using the Helm chart if your Jenkins is hosted on Kubernetes.
If you walked around the RBAC screens, you may have seen the “Role macros” and “Node items” parts. As today, I’ve never used these features.